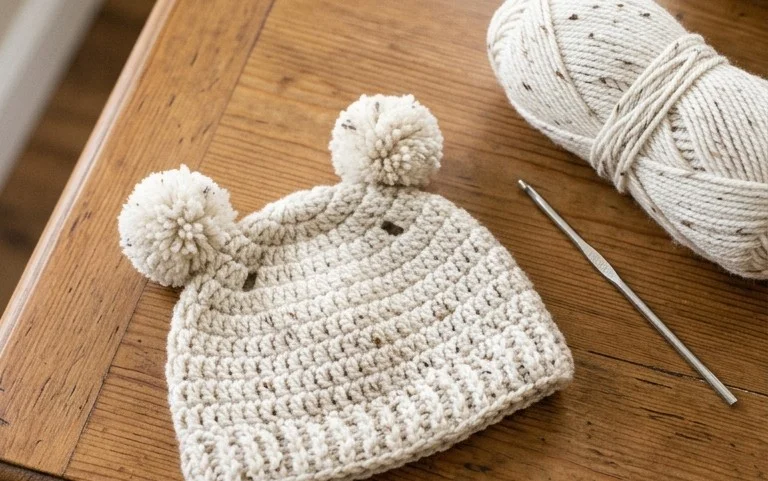
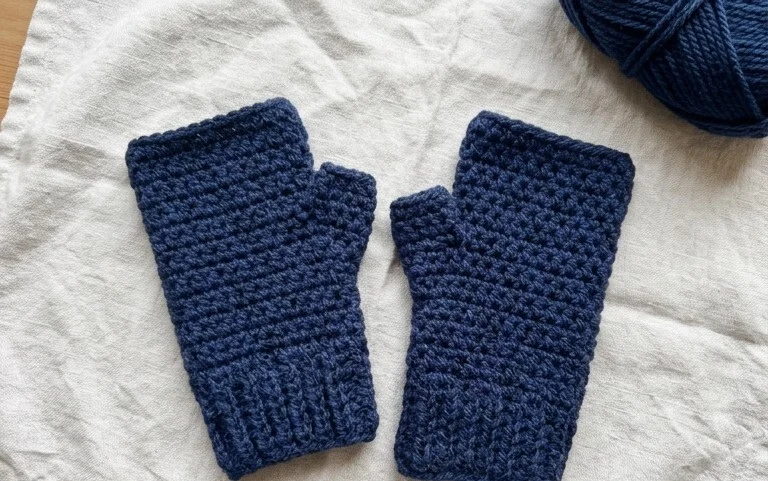
40 Free Crochet Shawl Patterns for Every Skill Level
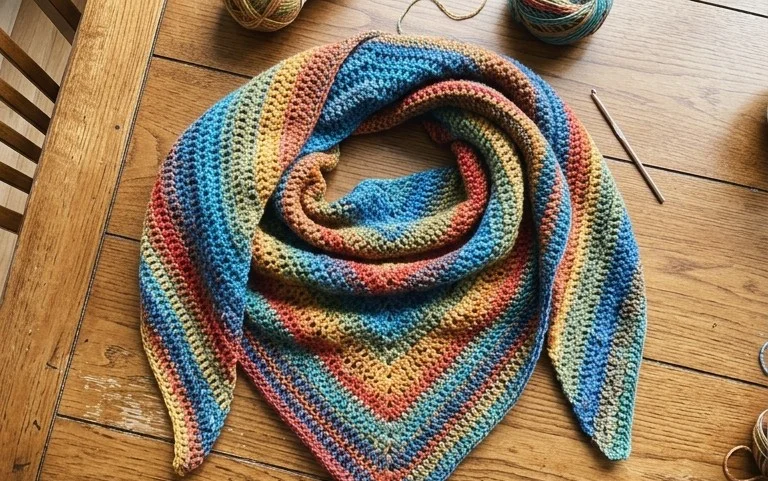
A lightweight shawl draped over your shoulders provides just enough warmth for a cool evening walk or a drafty office. These designs range from airy, lace-like structures that move with you to thick, woolly wraps that offer a sense of security during long winters. Beginners find success with simple rectangles, while more advanced makers enjoy playing with complex geometric shapes and color transitions. You will gain confidence in reading charts and mastering essential increases throughout these various styles. Working with a long-wearing fiber turns these wraps into reliable staples that keep their shape through many seasons of consistent use and enjoyment.
Why You’ll Love This Pattern
This beginner-friendly crochet coaster pattern is the ideal project for using up small amounts of leftover cotton yarn. Because it works up in less than 30 minutes, it is a perfect choice for last-minute handmade gifts or for building your market inventory. The circular construction creates a dense, absorbent fabric that protects your wooden tables from moisture while adding a touch of color to your home decor. The simple stitch repeat makes it a meditative project to work on during a quiet evening at home.
I managed to make a set of four coasters in just one afternoon using my scrap yarn bin. The instructions were very easy to follow and my stitches turned out nice and even.
— Sarah, casual crocheter
Pattern Overview & Skill Level
- Skill Level: Beginner
- Approximate Time: 20-30 minutes per coaster
- Construction: Working in the round with a slip stitch join and chain-up starting each row
- Finished Dimensions: 4 inches in diameter
Materials & Supplies Needed
- Yarn: Worsted weight (#4), 100% cotton, approximately 15-20 yards per coaster. Cotton is necessary for heat resistance and absorbency.
- Hook Size: 5.0 mm (H-8)
- Notions: Tapestry needle for weaving in ends, scissors, and a stitch marker to keep track of the round start.
- Safe Yarn Substitutions: Acrylic yarn can be used for decorative purposes but will not absorb condensation as well as cotton. If you choose a different weight yarn, your finished coaster size will change; use a hook size 0.5 mm smaller than the yarn label recommends for a tighter, more functional fabric.
Stitch Guide & Abbreviations (US Terms)
- ch = chain
- st/sts = stitch/stitches
- sl st = slip stitch
- sc = single crochet
- dc = double crochet
- dc-inc = 2 double crochet in the same stitch
- MR = magic ring
Step-by-Step Pattern Instructions
Coaster Body
- Rnd 1: Create a MR. Ch 3 (counts as first dc throughout), work 11 dc into the ring. Join with a sl st to the top of the initial ch-3. (12 sts)
- Rnd 2: Ch 3, dc in same st, 2 dc in each remaining st around. Join with a sl st to the top of the initial ch-3. (24 sts)
- Rnd 3: Ch 3, 2 dc in next st, 1 dc in next st, 2 dc in next st repeat from * to * around. Join with a sl st to the top of the initial ch-3. (36 sts)
- Rnd 4: Ch 3, dc in next st, 2 dc in next st, 1 dc in each of the next 2 sts, 2 dc in next st repeat from * to * around. Join with a sl st to the top of the initial ch-3. (48 sts)
Finishing
Fasten off, leaving a 6-inch tail. Using your tapestry needle, weave the tail through the back of the stitches to secure it. If you prefer a decorative edge, you can add a final round of reverse single crochet (crab stitch) around the perimeter, which will add 48 stitches back into your total count if you maintain the stitch-to-stitch ratio.
Care & Washing Instructions
- Machine wash on a gentle cycle in cold water to prevent shrinking.
- Lay flat to dry on a clean towel, reshaping the circle with your hands while damp.
- If the coasters become misshapen over time, light steam blocking will restore their flat, circular shape.
Pro Tips & Common Mistakes to Avoid
Maintain consistent tension by holding your yarn with a steady grip, as loose tension makes the coaster floppy rather than firm. Always use a stitch marker at the beginning of each round to ensure you do not skip the slip stitch join, which is a common place to lose count. When weaving in ends, use a duplicate stitch technique on the back side of the coaster to keep the front side smooth and professional looking. If you want a larger coaster, add an extra round following the increase pattern (1 dc in each of the next 3 sts, 2 dc in the next), but note that this will require approximately 5-8 additional yards of yarn.
Frequently Asked Questions
Can I use acrylic yarn for these coasters?
Yes, but keep in mind that acrylic is plastic-based and does not absorb moisture like cotton. It also can melt if you place a very hot mug directly on it, so it is best used for cold drinks only.
How do I adjust the size of the coaster?
To make the coaster larger, continue the increase pattern of Rnd 4 by adding one additional dc between increases in every subsequent round. To make it smaller, simply stop after Rnd 3.
Is this pattern suitable for someone who just learned to crochet?
This is an excellent project for a beginner because it covers the fundamental skills of working in the round, joining rounds, and consistent tension without requiring complex stitch patterns.
Am I allowed to sell the finished items I make from this pattern?
You are welcome to sell finished coasters made from this pattern, provided you credit the design. Please do not sell or redistribute the written pattern itself.
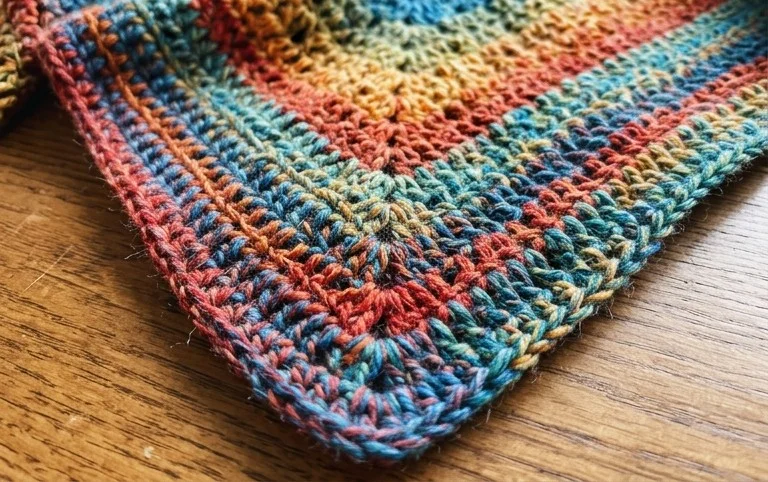
Your finished wrap is ready to style with a simple brooch or a loose knot at the front. Changing the yarn from a solid wool to a variegated mohair blend creates a completely different look, shifting from a professional accessory to a soft, fuzzy layering piece. Please share a photo of your work on Instagram so others can see your color choices. You can find more free patterns and seasonal guides in our main archive. Keep your yarn needles handy because there is always another project waiting for your next quiet afternoon at home.