Easy Ribbed Crochet Beanie: Free Beginner Pattern
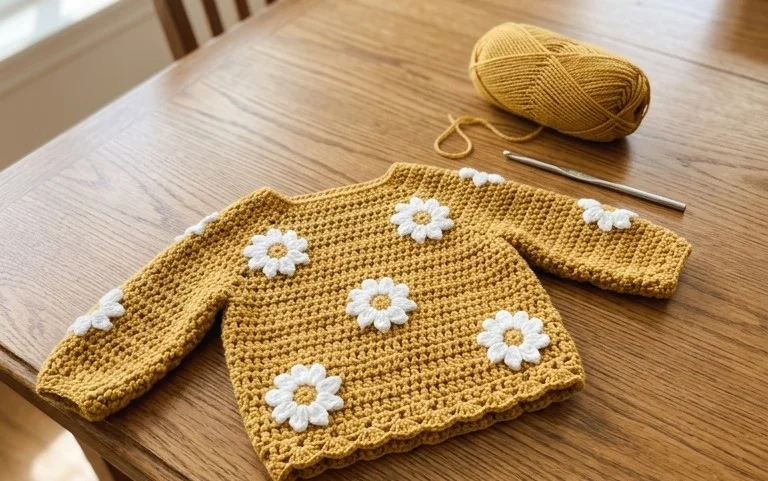
This ribbed beanie feels like a thick, cozy wool hug on a freezing winter morning. The texture is firm and bouncy, creating a high-end look that hides the fact that it is a simple rectangle made of basic half double crochet stitches. Beginners find this project approachable because it avoids complicated shaping, while experienced makers appreciate how quickly it comes together for last-minute gifts. You will learn to manipulate the tension of your yarn and master the back loop only technique to achieve that crisp, defined ridging. Working on this piece is meditative, allowing your hands to settle into a steady rhythm while you create something warm and practical.
Why You’ll Love This Pattern
This crochet ribbed beanie pattern uses a simple back loop only technique to create a stretchy, professional-looking garment that fits a wide range of head sizes. The texture comes from working into the back loops of half double crochet stitches, which mimics the look of a knitted fabric while remaining faster to hook up. Because the hat is worked as a flat rectangle and then seamed, you can easily adjust the height or circumference to fit toddlers, children, or adults. It serves as an excellent scrap-yarn project, especially if you hold two strands of fingering or sport weight yarn together to reach the required gauge.
I finished this hat in one evening while watching a movie. The ribbed effect is very bouncy and looks much more expensive than the actual effort required to make it.
— Sarah, hobbyist crocheter
Pattern Overview & Skill Level
- Skill Level: Beginner
- Approximate Time: 3 to 5 hours
- Construction: Worked flat in rows, then seamed vertically with a crown gather
- Finished Dimensions & Sizing: Fits average adult head (20–22 inches circumference), 9 inches tall
Materials & Supplies Needed
- Yarn: Worsted weight (#4), approximately 220 yards of wool or acrylic blend
- Hook Size: 5.5 mm (US I-9)
- Notions: Tapestry needle for seaming and weaving ends, locking stitch marker for managing the row start, scissors
- Safe yarn substitutions: You can use a DK weight yarn held double, which creates a slightly denser fabric; avoid cotton yarns for this specific project as they lack the necessary elasticity to maintain the hat’s shape over time.
Stitch Guide & Abbreviations (US Terms)
- ch: chain
- hdc: half double crochet
- BLO: back loop only; insert your hook into the loop furthest away from you
- sl st: slip stitch
- st/sts: stitch/stitches
- RS: right side
- WS: wrong side
Step-by-Step Pattern Instructions
Main Body
- Row 1: Ch 35. Hdc in the third ch from hook and in each ch across. Turn. (33 sts)
- Row 2: Ch 2 (does not count as st). Hdc in the BLO of each st across. Turn. (33 sts)
- Rows 3–50: Repeat Row 2 until the piece measures approximately 20 inches wide when slightly stretched.
Assembly and Finishing
Fold the rectangle in half, matching the short ends together. Slip stitch through the BLO of the last row and the starting foundation chain across the entire edge to create a tube. Fasten off, leaving a 12-inch tail of yarn. Using your tapestry needle, weave the tail in and out of the stitches along the top edge of the tube. Pull the yarn tail tight to gather the top of the hat closed. Secure with a knot on the inside. Turn the hat right side out and fold up the bottom edge to create the brim.
Care & Washing Instructions
- Hand wash in cool water using a mild wool-safe detergent to maintain the fiber integrity.
- Lay the hat flat on a dry towel, patting it into its circular shape rather than hanging it to dry.
- Reshape the ribbed texture gently with your hands after it is mostly dry to ensure the stitch definition remains prominent.
Pro Tips & Common Mistakes to Avoid
- Maintain consistent tension during the BLO rows, as pulling too tightly will make the stitches difficult to insert the hook into on the subsequent pass.
- Place a stitch marker in the very first hdc of every row to ensure you do not accidentally decrease the stitch count by missing the final stitch of the row.
- Weave in your beginning and ending tails by running them through the ribbed ridges on the inside of the hat; this hides the ends completely without creating bulky knots.
- To adjust the size, add or subtract foundation chains to change the height, or add more rows to increase the circumference; adding rows requires more yarn, so ensure you have at least 250 yards if planning a larger size.
Frequently Asked Questions
Can I use a different hook size for this pattern?
Changing the hook size will alter the gauge. A larger hook will result in a looser, airier hat, while a smaller hook will create a stiffer, warmer fabric. Always check your gauge before starting.
Is this project suitable for a complete beginner?
Yes, this pattern relies on basic half double crochet stitches. If you are comfortable chaining and turning your work, you have the necessary skills to complete this hat.
Can I sell the hats I make from this pattern?
You are welcome to sell finished items made from this pattern, provided you credit the design. Do not distribute the pattern text itself.
How do I make the hat slouchy instead of a beanie fit?
To achieve a slouchy fit, increase your starting chain count by 5 to 8 stitches. This adds extra height to the rectangle, allowing the fabric to fold over at the back of the head.
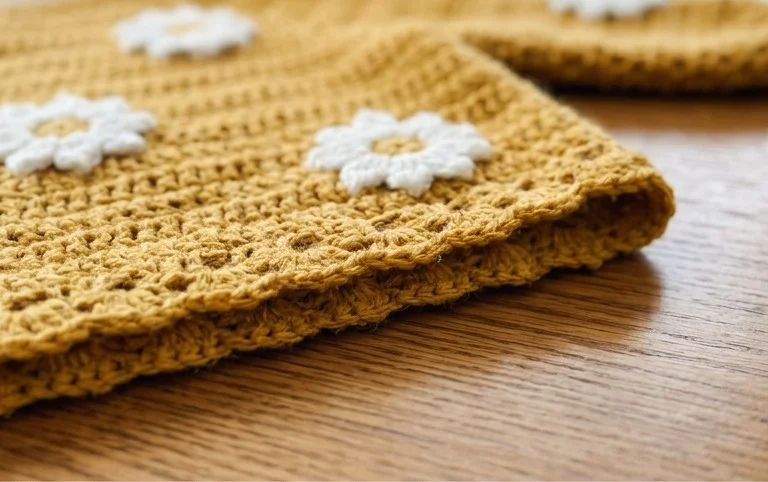
Your finished hat should have a satisfying weight and a nice stretch that hugs the ears without sliding. You can customize the look by using a variegated yarn for a colorful stripe effect or by adding a faux fur pompom to the crown for a playful touch. Posting a photo of your finished work online helps other makers see how different color choices change the overall aesthetic. Feel free to browse through the rest of the blog for more patterns that use simple techniques to build a useful handmade wardrobe.