Moss Stitch Crochet Tutorial: Easy Beginner Pattern
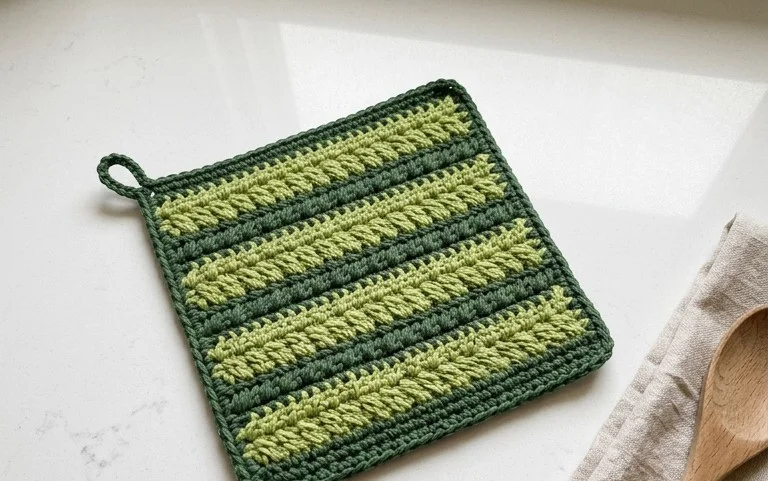
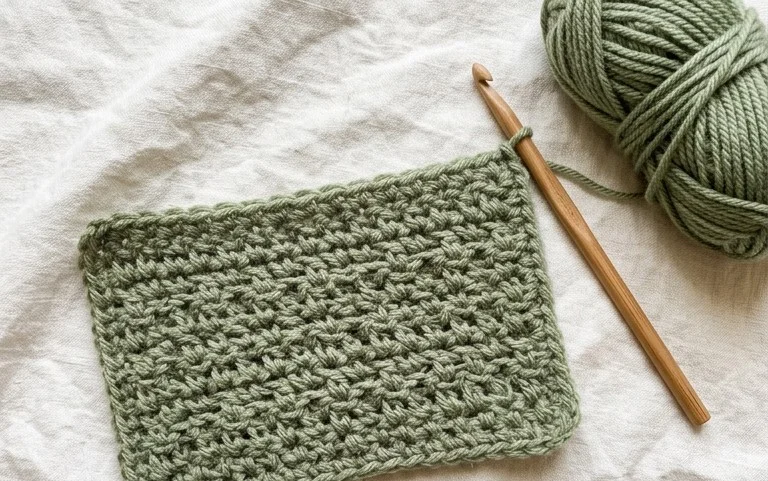
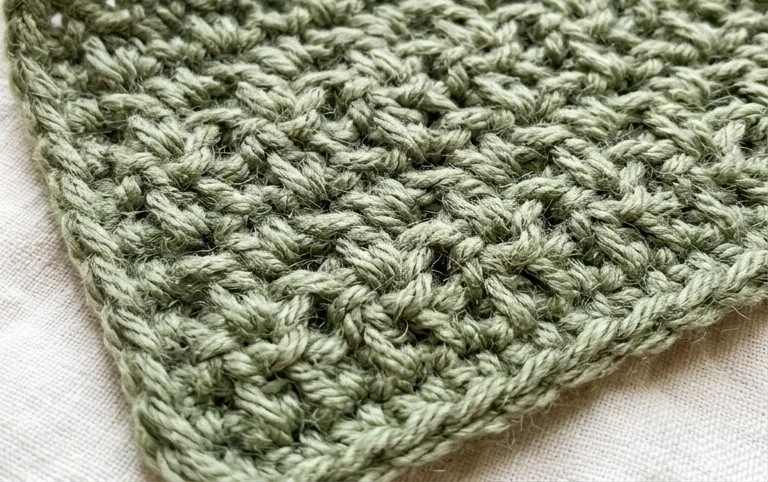
The moss stitch has a squishy, woven texture that feels dense and incredibly satisfying under your fingertips. This simple combination of single crochet stitches and chains creates a fabric that looks much more advanced than the basic techniques required to build it. Whether you are a beginner picking up a hook for the first time or a long-time maker seeking a meditative project, this repetitive pattern allows you to lose yourself in the rhythm of the yarn. You will learn how to transition between colors to emphasize the geometric gaps while maintaining clean, straight edges for a polished result.
Why You’ll Love This Pattern
Creating a classic crochet drawstring pouch provides a functional solution for organizing small items like stitch markers, jewelry, or coins. This project relies on a sturdy base and a rhythmic, repeating stitch pattern that makes it an excellent choice for a portable, low-stress project. Because the design uses basic stitches, you can complete the entire bag in a single afternoon without needing to reference complex charts. The final result is a durable accessory that holds its shape well even when filled with heavier metal notions or small hardware.
I finished this pouch in one sitting and found the instructions extremely easy to follow, especially the way the drawstring casing is integrated into the final rounds.
— Sarah, intermediate crocheter
Pattern Overview & Skill Level
- Skill Level: Beginner
- Approximate Time: 2–3 hours
- Construction: Worked in continuous rounds from the center out for the base, then worked in joined rounds for the body and eyelet row.
- Finished Dimensions & Sizing: 5 inches diameter, 6 inches tall.
Materials & Supplies Needed
- Yarn: Worsted weight (#4) cotton yarn, approximately 100 yards. Cotton is preferred for its lack of stretch and structural integrity.
- Hook Size: 4.5 mm (US size 7) to ensure tight, even stitches that prevent small items from slipping through.
- Notions needed: Tapestry needle for weaving in ends, a stitch marker for the beginning of rounds, and a length of cord or ribbon for the drawstring.
- Safe yarn substitutions: Acrylic worsted weight yarn can be substituted for cotton, though the bag will be slightly more flexible and prone to stretching over time.
Stitch Guide & Abbreviations (US Terms)
- MR = magic ring
- ch = chain
- sc = single crochet
- dc = double crochet
- inc = increase (2 sc in the same stitch)
- sl st = slip stitch
- st/sts = stitch/stitches
- yo = yarn over
- Eyelet st: A sequence of (ch 1, skip 1 st, dc in next st) used to create holes for the drawstring.
Step-by-Step Pattern Instructions
Base
- Rnd 1: Work 6 sc into a MR. (6 sts)
- Rnd 2: 2 sc in each st around. (12 sts)
- Rnd 3: (1 sc, 1 inc) repeat 6 times. (18 sts)
- Rnd 4: (2 sc, 1 inc) repeat 6 times. (24 sts)
- Rnd 5: (3 sc, 1 inc) repeat 6 times. (30 sts)
- Rnd 6: (4 sc, 1 inc) repeat 6 times. (36 sts)
- Rnd 7: (5 sc, 1 inc) repeat 6 times. (42 sts)
Body
- Rnd 8: Sc in each st around, working in the back loops only (BLO) to create a crisp edge for the base. (42 sts)
- Rnds 9–20: Sc in each st around. (42 sts)
- Rnd 21: (Ch 1, skip 1, dc in next st) repeat 21 times. Join with sl st to the first ch. (42 sts)
- Rnd 22: Sc in each ch space and each dc around. (42 sts)
- Rnd 23: Ch 1, *sc in next 3 sts, ch 3, skip 2 sts; repeat from * around. Join with sl st and fasten off. (42 sts)
Assembly
Weave in all loose ends on the inside of the pouch using a tapestry needle. Cut a 20-inch piece of ribbon or cord. Thread the cord through the holes created in Rnd 21, weaving in and out of the dc stitches. Pull the ends to cinch the bag closed and tie a simple knot to secure.
Care & Washing Instructions
- Hand wash in cool water with a mild detergent to prevent the fibers from agitating and losing their shape.
- Lay the pouch flat on a clean towel and reshape it while damp to ensure the base remains perfectly circular.
- Avoid wringing the piece out, as this stresses the stitches and can cause permanent distortion to the structure.
Pro Tips & Common Mistakes to Avoid
- Maintain consistent tension by holding your yarn with a steady grip throughout; uneven tension will cause the sides of your pouch to look wavy.
- Always place a stitch marker in the first stitch of every round to keep track of your count, as it is easy to lose your place in a continuous spiral.
- Weave your ends back and forth through the back loops of the interior stitches to hide them completely, which prevents them from catching on the items you store inside.
- To adjust the size, add or subtract rounds in the body section, but remember that a taller bag will require slightly more yardage than the 100 yards specified.
Frequently Asked Questions
Can I use a larger hook size for this pattern?
Using a larger hook will make the fabric looser and potentially create larger gaps where small items could fall out, so it is recommended to stick with the 4.5 mm hook.
Is this pattern suitable for complete beginners?
Yes, this pattern uses only basic crochet stitches and follows a simple sequence, making it a great way to practice working in the round.
Can I sell the bags I make from this pattern?
You are welcome to sell finished items made from this design, provided you credit the designer and do not distribute the original pattern text as your own.
How do I prevent the bottom of the pouch from curling?
Curling usually occurs if your tension is too tight during the base increases. If your base begins to cup, switch to a slightly larger hook for the first seven rounds.
Your new pouch now serves as a secure home for your smallest items, keeping everything from stitch markers to loose change organized in one place. If you want to customize your bag, try using a variegated yarn to create a shifting color effect or add a velvet ribbon for a more luxurious feel. Snap a photo of your finished work and share it on Instagram or Facebook to show off your progress. You can find more free patterns and tutorials on our blog to keep your creative momentum going throughout the week.