10 Best Free Gnome Crochet Patterns for Beginners
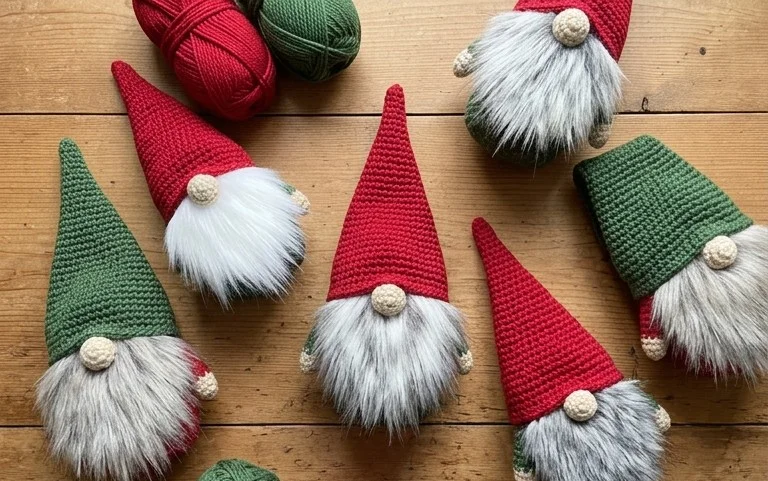
These fuzzy little figures hold a special place on a bookshelf or mantle, bringing a sense of whimsy to any room. Their long, soft beards and oversized hats create a cozy aesthetic that appeals to anyone who enjoys handmade seasonal decor. Working on these creatures feels like a rewarding puzzle as you shape the round nose and tall, pointed cap. You will learn how to maintain consistent tension while crocheting in continuous rounds, which keeps your stitches tight and prevents fiberfill from peeking through. Whether you craft them for friends or keep a tiny family for yourself, these dolls remain endlessly customizable projects.
Why You’ll Love This Pattern
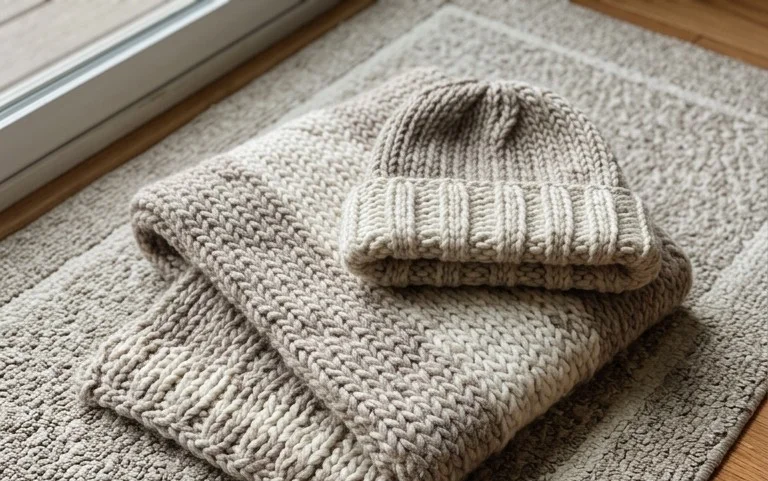
This crochet ribbed beanie pattern uses a simple back-loop-only technique that creates a professional, store-bought look with minimal effort. It works up quickly because it is constructed as a flat rectangle, which means you avoid the complexity of shaping stitches while working in the round. The resulting fabric is stretchy, dense, and warm, making it an ideal choice for brisk morning commutes or outdoor winter walks. Because it relies on basic single crochet stitches, it is a low-stress project that allows you to catch up on podcasts while you work.
I finished this hat in two evenings and the ribbing looks perfectly uniform. It is easily the most comfortable beanie I have ever made for myself.
— Sarah, hobbyist crocheter
Pattern Overview & Skill Level
- Skill Level: Beginner
- Approximate Time: 3 to 4 hours
- Construction: Worked flat in rows to create a rectangle, then seamed and cinched to form a hat
- Finished Dimensions: 9 inches wide by 11 inches tall (before folding the brim)
Materials & Supplies Needed
- Yarn: Worsted weight (#4), wool or acrylic blend, approximately 200 yards.
- Hook Size: 5.0 mm (H-8) crochet hook.
- Notions: Tapestry needle for seaming and weaving ends, locking stitch markers, and a pair of sharp scissors.
- Safe yarn substitutions: You can use a cotton blend for a lighter, breathable hat, though it will have less stretch than wool. If you choose a thicker bulky yarn, reduce the starting chain length by 5 stitches to maintain a similar fit.
Stitch Guide & Abbreviations (US Terms)
- ch = chain
- sc = single crochet
- BLO = back loop only (insert hook under only the back loop of the stitch instead of both loops to create ridges)
- st/sts = stitch/stitches
- sl st = slip stitch
Step-by-Step Pattern Instructions
Hat Body
You will work the body as one long piece. The height of your starting chain determines the length of the hat, including the fold-up brim.
- Row 1: Ch 46. Work 1 sc in the second ch from the hook and each ch across. (45 sts)
- Row 2: Ch 1, turn. Work 1 sc in the BLO of each st across. (45 sts)
- Rows 3 to 60: Repeat Row 2 until the piece measures approximately 18 inches unstretched. Ensure you end on an even-numbered row so your yarn tail for seaming is positioned correctly.
Assembly and Finishing
- Seaming: Fold the rectangle in half, matching the short ends together. Slip stitch through both thicknesses across the edge to join the hat into a tube. Fasten off, leaving a 12-inch yarn tail.
- Closing the Crown: Thread your tapestry needle with the long tail. Weave the yarn in and out through the stitches along the top edge of the tube. Pull the yarn tight to cinch the hole closed. Secure the center with several tight knots, then weave the remaining yarn into the inside of the hat to hide it.
- Final Step: Turn the hat right-side out. The seaming ridge will be on the inside. Fold the bottom edge up by 3 inches to create the finished brim.
Care & Washing Instructions
- Hand wash your beanie in cool water with a mild wool-safe detergent to preserve the fibers.
- Lay the hat flat on a dry towel and reshape it while damp to ensure it does not lose its structural integrity.
- Avoid using a tumble dryer, as heat can shrink natural fibers and cause the acrylic components to lose their elasticity.
Pro Tips & Common Mistakes to Avoid
Maintain consistent tension by holding your yarn with a steady grip, especially on the turning stitches at the end of each row; loose edge stitches can result in a wavy seam. Always place a stitch marker in the first stitch of every row to ensure you do not accidentally drop stitches, as losing even one stitch will cause the rectangle to taper unevenly. Weave your ends back and forth in three different directions within the ribbing; this prevents the ends from popping out when the fabric stretches during wear. To adjust the size, simply add or subtract rows; adding 4 rows will increase the circumference by approximately 1 inch, but remember that you will need about 15 extra yards of yarn for every inch of width added.
Frequently Asked Questions
Can I use a different hook size for this project?
Yes, changing the hook size will alter the density of the fabric. A smaller hook will make the hat stiffer and tighter, while a larger hook will make it drape more loosely. Stick to the recommended 5.0 mm hook for the best balance of warmth and stretch.
How do I know if the hat will fit my head correctly?
The pattern is designed for an average adult head circumference of 21 to 23 inches. You can measure your rectangle as you work; it should be slightly smaller than your head measurement because the ribbing is designed to stretch and provide a snug, secure fit.
Is this pattern suitable for a total beginner?
This is an ideal project for beginners because it uses only one stitch type. Learning to identify the back loop of a single crochet is the most important skill here, which provides a great foundation for more complex projects.
Am I allowed to sell finished items made from this pattern?
You are welcome to sell items you crochet using this pattern. Please provide credit to the designer in your shop listing, but do not reproduce the written text or images of this pattern for commercial gain.
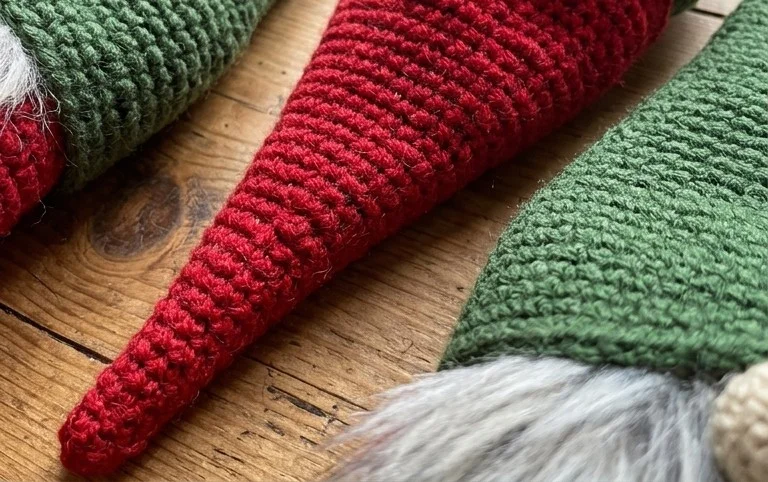
Seeing your handmade group of gnomes standing together on a shelf brings a genuine sense of accomplishment to your creative space. You might try using chunky velvet yarn for an extra plush, huggable texture that feels even softer in your hands. Taking a quick photo of your work to share with other makers helps spark inspiration for everyone currently browsing for their next afternoon project. There are plenty of additional seasonal designs waiting for you in the archives, so feel free to click around and find your next favorite craft.