10 Easy Crochet Patterns for Fast DIY Handmade Gifts
A stack of freshly finished coasters brings a quiet, tactile warmth to any coffee table while protecting wood surfaces from heat and moisture. These small projects provide a gentle way for beginners to practice circular shaping while clearing out those lingering cotton yarn leftovers in your stash. You get to build muscle memory with simple stitches that create a dense, functional fabric in mere minutes. Making these items serves as a meditative break during a busy afternoon, resulting in thoughtful gifts that actually last. This collection explores essential techniques to ensure every piece lies perfectly flat every time you work.
Why You’ll Love This Pattern
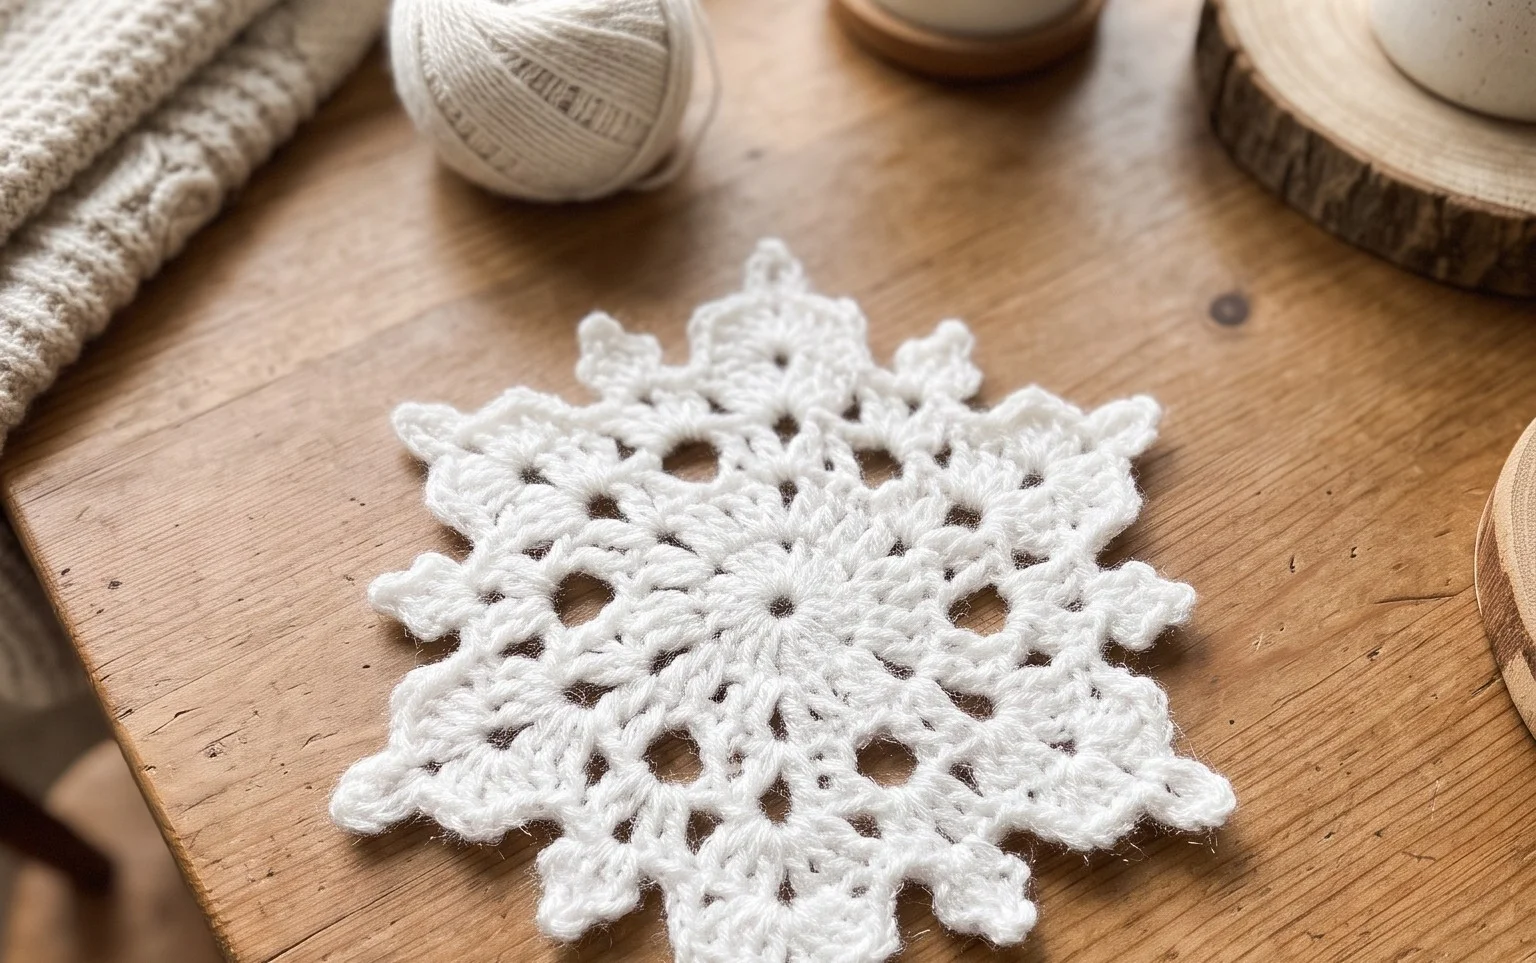
This beginner-friendly crochet coaster pattern uses simple single crochet stitches and a tight tension to create a sturdy, heat-resistant surface for your favorite mugs. The project works up in under 30 minutes, making it an ideal choice for using up leftover cotton yarn scraps from larger projects. Because it relies on basic increases, you gain confidence in shaping circles without complex techniques. The finished coaster lies perfectly flat, protecting your wooden tables from condensation or hot beverage rings.
I managed to finish a set of four in one afternoon, and they are the perfect weight for everyday use at my desk.
— Sarah, hobbyist maker
Pattern Overview & Skill Level
- Skill Level: Beginner
- Approximate Time: 20 to 30 minutes per coaster
- Construction: Worked in continuous rounds from the center outward
- Finished Dimensions & Sizing: Approximately 4 inches (10 cm) in diameter
Materials & Supplies Needed
- Yarn: Worsted weight (#4) 100% cotton yarn, approximately 15 yards per coaster. Cotton is necessary for heat resistance and moisture absorption.
- Hook Size: 4.5 mm / US 7 hook to maintain a tight, dense fabric.
- Notions: Tapestry needle for weaving ends and a stitch marker to track the start of rounds.
- Safe Yarn Substitutions: You can use an acrylic-blend yarn, but be aware that acrylic may melt if a very hot mug is placed directly on the coaster. For the best result, stick to cotton or wool fibers.
Stitch Guide & Abbreviations (US Terms)
- MR: Magic ring (or chain 2 and work into the second chain from the hook)
- st/sts: Stitch/stitches
- ch: Chain
- sc: Single crochet
- inc: Increase (work 2 sc into the same stitch)
- sl st: Slip stitch to finish the round
Step-by-Step Pattern Instructions
Coaster Body
- Rnd 1: Start with a MR, work 6 sc into the ring. Tighten the ring securely. (6 sts)
- Rnd 2: Work 2 sc in each st around. (12 sts)
- Rnd 3: 1 sc, inc repeat from * to * 6 times. (18 sts)
- Rnd 4: 1 sc in next 2 sts, inc repeat from * to * 6 times. (24 sts)
- Rnd 5: 1 sc in next 3 sts, inc repeat from * to * 6 times. (30 sts)
- Rnd 6: 1 sc in next 4 sts, inc repeat from * to * 6 times. (36 sts)
- Rnd 7: 1 sc in next 5 sts, inc repeat from * to * 6 times. (42 sts)
Finishing
Once you reach the end of Round 7, work one final sl st into the next stitch to level off the edge. Cut the yarn, leaving a 6-inch tail. Pull the yarn through the final loop and use your tapestry needle to weave the tail back into the stitches on the underside of the coaster. Trim any excess yarn close to the fabric for a clean look.
Care & Washing Instructions
- Machine wash your cotton coasters on a gentle cycle in cold or warm water.
- Lay the coasters flat on a towel to air dry, ensuring they are pulled into a perfect circle while damp.
- Avoid using fabric softener, as it can reduce the yarn’s ability to absorb moisture from cold glasses.
Pro Tips & Common Mistakes to Avoid
- Maintain a consistent tension throughout the project; if your stitches are too loose, the coaster will lose its heat-blocking density.
- Always place a stitch marker in the first stitch of every round. Working in continuous rounds means it is very easy to lose your place without a visual indicator.
- Weave your ends in multiple directions through the back of the stitches to ensure they do not pull out after repeated washing.
- To make the coaster larger, continue the pattern by adding a round of increases every time (e.g., Round 8 would be 1 sc in next 6 sts, inc), but note that this will require more yarn and may cause the coaster to become slightly wavy if the tension is too tight.
Frequently Asked Questions
Can I use a different yarn weight for this pattern?
Using a lighter weight yarn like DK will result in a smaller coaster, while using a chunky weight yarn will create a larger, thicker pad. You may need to adjust your hook size to ensure the fabric remains dense enough to protect your furniture.
Is this pattern suitable for someone who has never crocheted before?
Yes, this is an excellent starter project. It focuses on the most fundamental stitch, the single crochet, and the basic concept of increasing in rounds, which are the building blocks for many larger amigurumi projects.
Can I sell the coasters I make using this pattern?
You are welcome to sell finished items made from this pattern, provided you credit the design. Please do not sell or distribute the pattern itself, as the instructions remain protected intellectual property.
Why is my coaster curling up like a bowl instead of laying flat?
Curling usually occurs if your tension is too tight or if you have missed an increase in one of the rounds. Ensure you are working the correct number of increases per round to keep the circle flat.
These simple coasters turn a humble ball of cotton yarn into a useful household staple that feels substantial and professional in the hand. You might try striping two colors to match a friend’s kitchen decor or using a slightly thicker yarn to create a larger size for bigger mugs. Please consider sharing a photo of your completed set on social media so others can see your color choices. Browse through the rest of the blog for more free patterns that help you build your crafting skills one project at a time.