Easy Christmas Star Crochet Pattern: Step-by-Step Guide
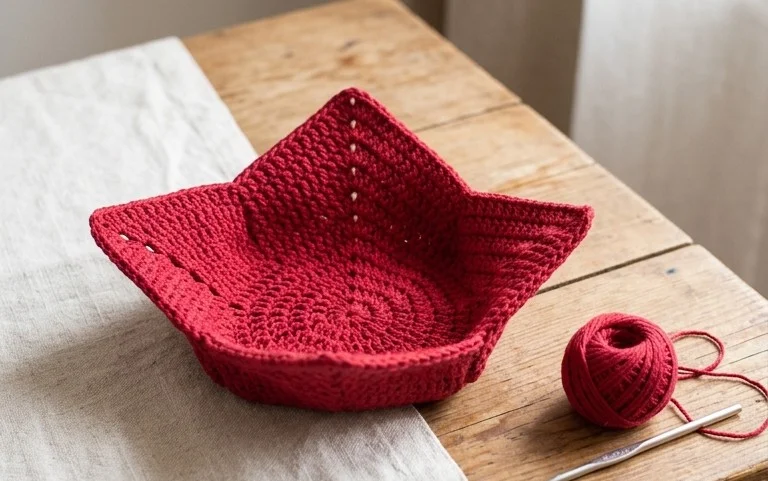
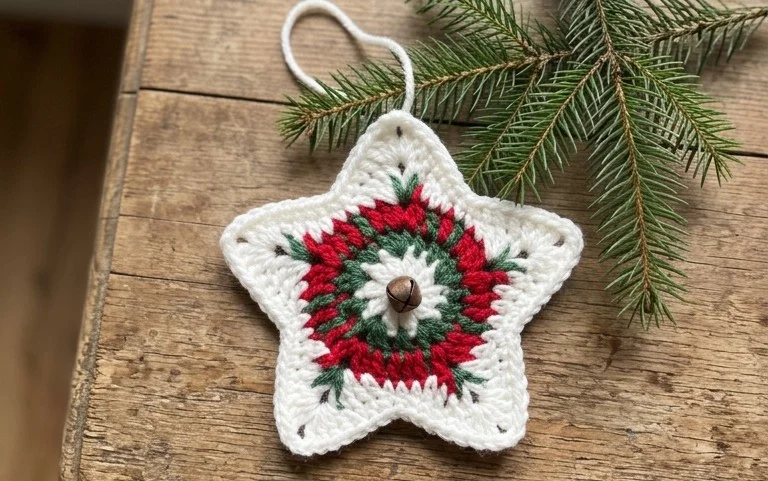
A crisp geometric shape in bright festive red, these hand-crocheted stars bring a touch of handmade warmth to any holiday table. Beginners appreciate how the single crochet stitches form a firm, dense fabric that feels substantial under a heavy mug or glass. You will learn how to manage increases in continuous rounds to create sharp, defined points that hold their shape without drooping. This project is a quick way to use up leftover cotton yarn while preparing functional, washable decor for the winter season. These little stars make thoughtful last-minute gifts for neighbors, friends, or teachers who appreciate handmade home accessories.
Why You’ll Love This Pattern
This beginner-friendly crochet coaster pattern uses simple single crochet stitches and a tight tension to create a sturdy, heat-resistant surface for your mugs. It is a quick project that takes less than thirty minutes to complete, making it ideal for utilizing leftover cotton yarn from larger projects. Because it relies on basic increases, you can easily scale the size up or down to accommodate everything from espresso cups to large water carafes. The finished result is durable enough to withstand frequent use and repeated washings.
I managed to whip up a set of four in one afternoon, and they lay perfectly flat without any curling edges.
— Sarah, home crafter
Pattern Overview & Skill Level
- Skill Level: Beginner
- Approximate Time: 20-30 minutes per coaster
- Construction: Working in continuous rounds starting from a center point, finished with a slip stitch join.
- Finished Dimensions: 4 inches (10 cm) in diameter
Materials & Supplies Needed
- Yarn: Worsted weight (#4) 100% cotton yarn, approximately 15-20 yards per coaster. Cotton is preferred for heat resistance and absorbency.
- Hook Size: 4.5 mm (US 7) hook to maintain a dense, tight fabric.
- Notions: Tapestry needle for weaving in ends, a stitch marker for tracking the beginning of rounds, and scissors.
- Safe Yarn Substitutions: Acrylic yarn can be used, but note that it may melt if a very hot mug is placed directly on it. Wool works well but requires hand washing. A heavier weight yarn will result in a larger coaster, while thinner yarn will require more rounds to reach the same size.
Stitch Guide & Abbreviations (US Terms)
- ch = chain
- sc = single crochet
- inc = increase (make 2 sc in the same stitch)
- sl st = slip stitch
- st/sts = stitch/stitches
- MR = magic ring (a method of starting in the round by creating an adjustable loop)
Step-by-Step Pattern Instructions
Coaster Body
- Rnd 1: Make a MR and work 6 sc into the ring. Pull the tail to tighten the center. (6 sts)
- Rnd 2: Work 2 sc in each st around. (12 sts)
- Rnd 3: 1 sc, inc repeat from * to * 6 times. (18 sts)
- Rnd 4: 2 sc, inc repeat from * to * 6 times. (24 sts)
- Rnd 5: 3 sc, inc repeat from * to * 6 times. (30 sts)
- Rnd 6: 4 sc, inc repeat from * to * 6 times. (36 sts)
- Rnd 7: 5 sc, inc repeat from * to * 6 times. (42 sts)
- Rnd 8: Work 1 sc in every st around. Join with a sl st to the first st of the round. (42 sts)
Finishing
Cut the yarn leaving a 6-inch tail. Pull the tail through the final loop to secure it. Use your tapestry needle to weave the end through the back of the stitches, traveling in the opposite direction of the yarn to lock it in place. Snip the remaining yarn close to the surface of the coaster.
Care & Washing Instructions
- Machine wash in cold water on a gentle cycle to prevent shrinking.
- Lay the coaster flat on a towel to air dry, ensuring it is shaped into a perfect circle while damp.
- Avoid using bleach or fabric softeners, as these can break down the cotton fibers and reduce absorbency.
Pro Tips & Common Mistakes to Avoid
Maintain consistent tension throughout the project to ensure the coaster remains flat. If your coaster starts to cup, your tension is likely too tight; try going up a half hook size. If it ripples or ruffles, your tension is too loose or you have too many stitches; ensure you are following the increase count exactly for each round.
Always place a stitch marker in the first stitch of each round. Since the project is worked in continuous spirals, it is easy to lose track of where a round ends without a marker. This prevents the shape from becoming lopsided.
Weave your ends on the back side of the work exclusively. By threading the tail through the base of the stitches on the reverse, the finish remains invisible from the top, providing a professional look.
To adjust the size, simply add more rounds of increases. For every additional round, follow the standard circle formula: add one more single crochet between each increase (e.g., 6 sc, inc for Round 8). Keep in mind that larger coasters will require more yarn, so ensure you have enough supply before starting.
Frequently Asked Questions
Can I use a larger hook size than recommended?
Using a larger hook will result in larger, looser stitches. This may cause the coaster to become flimsy and less effective at protecting surfaces from moisture or heat.
Why is my coaster curling at the edges?
Curling usually happens when the stitch tension is too tight. Try loosening your grip on the yarn or switching to a slightly larger hook to allow the fabric to drape and lay flat.
How do I make the coaster thicker?
You can hold two strands of worsted weight yarn together while crocheting with a 5.5 mm hook. This creates a denser, thicker fabric that is highly absorbent for cold drinks.
May I sell the coasters I make from this pattern?
Yes, you are welcome to sell finished items made from this pattern. Please credit the design to this tutorial when listing your products online or at craft markets.
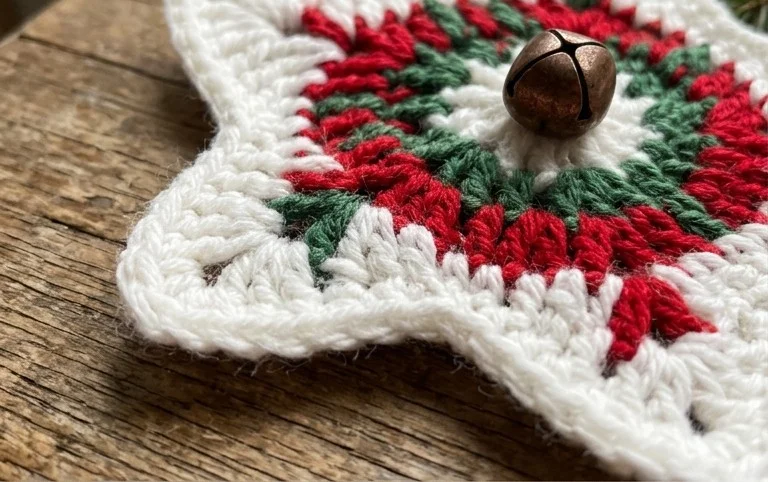
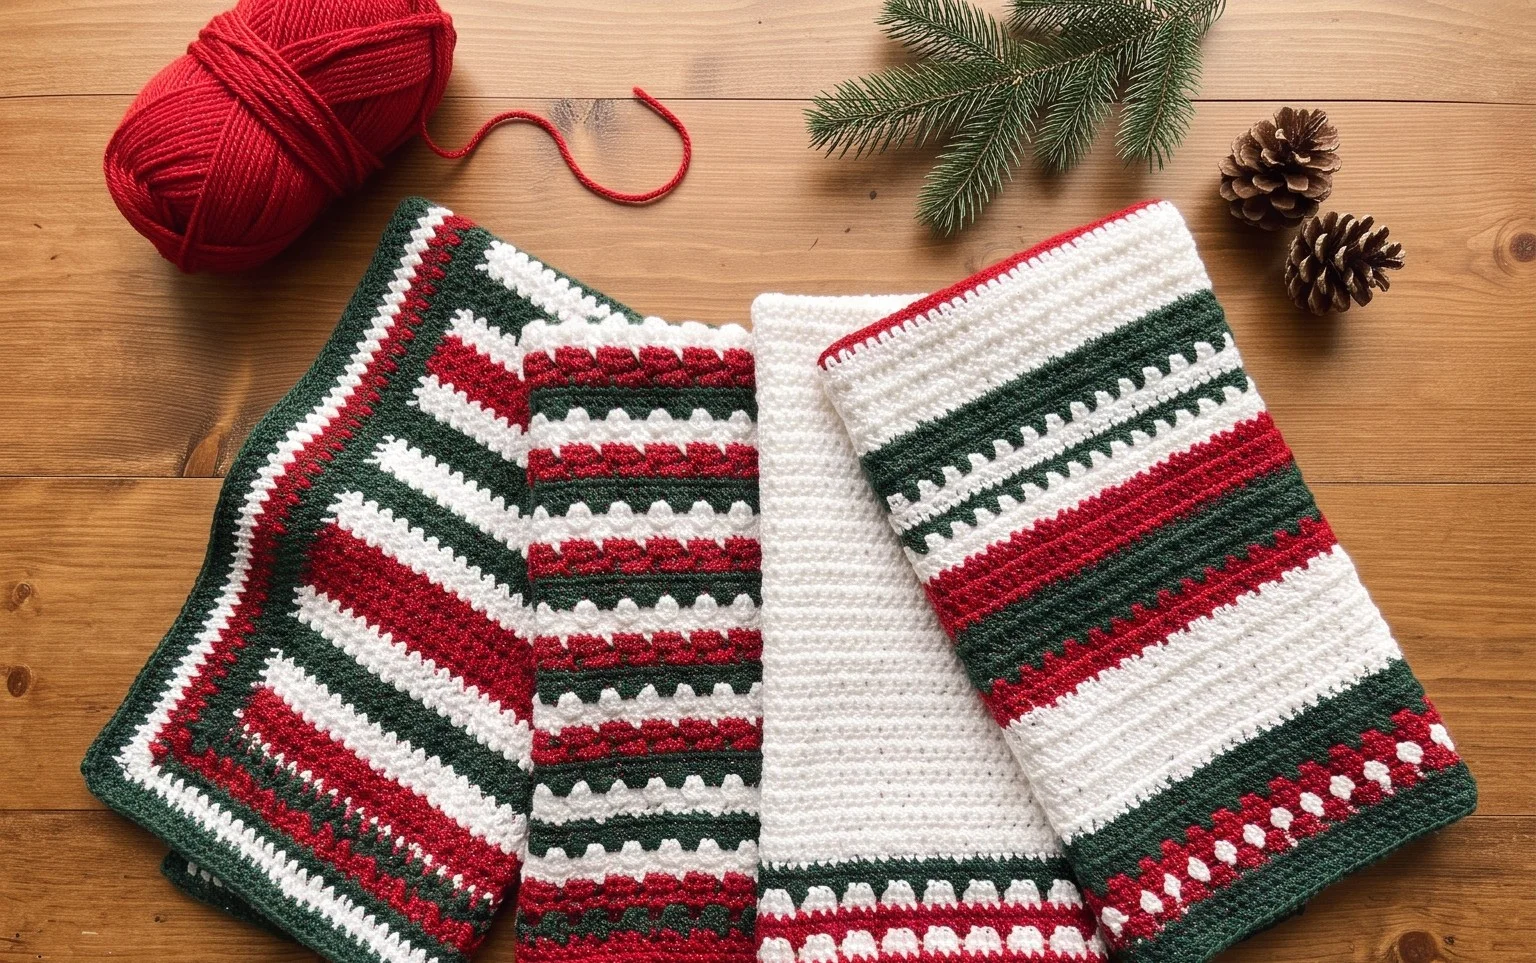
Your finished set of holiday coasters adds a charming, rustic touch to your home during the festive season. You can easily adapt this design by using metallic thread for a subtle shimmer or switching to variegated yarn to give each star a unique appearance. Sharing a photo of your finished work on Instagram or Pinterest helps other crafters find inspiration for their own holiday projects. Visit the main project index on the blog to find more beginner-friendly patterns to round out your handmade gift collection for this coming year.