Free Crochet Hood Pattern: Easy Step-by-Step Tutorial
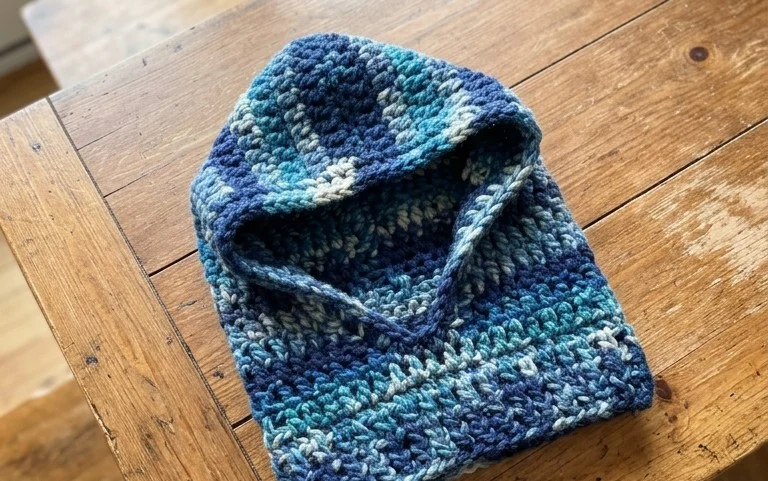
A cozy hood provides warmth on cold days while framing your face with a soft, squishy texture that feels comforting against the skin. This project relies on a simple half-double crochet stitch worked in the back loops, which creates a rhythmic pattern that grows quickly under your hook. It makes an ideal gift for friends or family members who value handmade items. You will master the process of building a rectangular fabric that folds seamlessly into a stylish, functional headpiece. Because the construction remains straightforward, you can focus on maintaining your tension and enjoying the meditative quality of every single row you complete today.
Why You’ll Love This Pattern
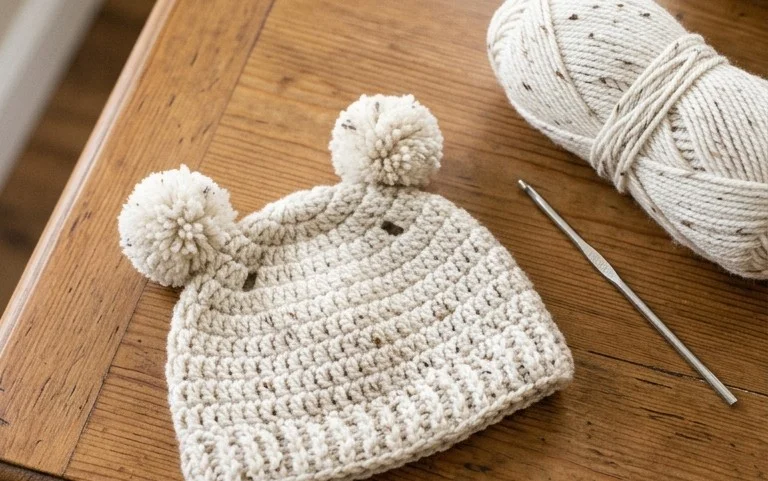
This crochet ribbed beanie pattern utilizes a simple back-loop-only technique to create a stretchy, professional-looking garment that mimics the appearance of knitted fabric. It is an excellent choice for beginners who want to move beyond basic scarves because it teaches essential skills like maintaining consistent tension and working in rows that form a cohesive shape. The pattern is quick to complete, typically taking an intermediate crocheter only a few hours, and uses a single skein of yarn, making it a budget-friendly project. You can easily adjust the height by adding or subtracting chains, allowing for a custom fit that ranges from a snug skullcap to a trendy slouchy beanie.
I finished this hat in one sitting while watching a movie. The ribbed texture is surprisingly stretchy and fits perfectly without sliding off my head.
— Sarah, hobbyist crocheter
Pattern Overview & Skill Level
- Skill Level: Beginner
- Approximate Time: 3 to 4 hours
- Construction: Worked as a flat rectangle in rows, then seamed vertically and cinched at the top to form a circular crown.
- Finished Dimensions: 18 inches circumference (unstretched), 9 inches height (adjustable).
Materials & Supplies Needed
- Yarn: Worsted weight (#4), 100% acrylic or wool blend, approximately 200 yards.
- Hook Size: 5.0 mm (H-8).
- Notions: Yarn needle with a large eye, stitch markers, and a measuring tape.
- Safe yarn substitutions: Cotton yarn can be used for a stiffer, heavier hat, while alpaca blends offer extra warmth and drape. Note that cotton has less natural elasticity, so you may need to add an extra inch to your foundation chain to ensure a comfortable fit.
Stitch Guide & Abbreviations (US Terms)
- ch = chain
- st = stitch
- sl st = slip stitch
- BLO = back loop only (insert hook under the back loop of the stitch only)
- RS = right side
- WS = wrong side
Step-by-Step Pattern Instructions
Hat Body
The hat is worked in one large rectangular panel.
- Row 1: Ch 36. Starting in the second ch from the hook, work 1 sl st in each ch across. Turn. (35 sts).
- Row 2: Ch 1, working in BLO, work 1 sl st in each st across. Turn. (35 sts).
- Rows 3-60: Repeat Row 2 until the piece measures approximately 18 inches wide when slightly stretched.
Assembly and Finishing
- Seaming: Fold the rectangle in half so the short ends meet. Working through both the foundation chain edge and the final row edge, slip stitch the two sides together to form a tube. Fasten off, leaving a 12-inch tail.
- Closing the Crown: Using your yarn needle and the long tail, weave the yarn in and out of the stitches along the top edge of the tube. Pull the yarn tight to cinch the top closed, creating a gathered crown. Secure the yarn with a double knot on the inside.
- Weaving Ends: Turn the hat inside out if necessary and weave in any remaining loose ends securely into the fabric, trimming the excess yarn.
Care & Washing Instructions
- Machine wash on a delicate cycle in cool water (30°C) inside a mesh laundry bag.
- Lay the beanie flat on a towel to air dry, away from direct sunlight or heat sources.
- Avoid using a tumble dryer, as high heat can shrink synthetic fibers and distort the ribbed stitch pattern.
Pro Tips & Common Mistakes to Avoid
One of the most important aspects of this pattern is maintaining even tension on your slip stitches. If your slip stitches are too tight, the hat will be difficult to work into; if they are too loose, the ribbing will look saggy. Try to keep your tension loose and consistent throughout the entire rectangle to ensure the hat stretches evenly when worn. Using a stitch marker at the beginning of each row is helpful to ensure you are not accidentally dropping stitches at the edges, which would lead to a lopsided rectangle. When weaving in your ends, weave them in two different directions to prevent the tail from slipping out over time. If you wish to make the hat larger or smaller, simply increase or decrease your starting chain count, remembering that this will change the amount of yarn required.
Frequently Asked Questions
Can I use a different yarn weight for this pattern?
Yes, but it will significantly change the size and drape. Using a bulkier yarn will result in a thicker, faster-growing hat, while lighter yarn will require more chains to reach the same circumference.
How can I adjust the slouchiness of the beanie?
To make the beanie slouchier, simply increase the number of rows worked. For a tighter fit, decrease the total row count until the circumference matches your head measurement.
Is this pattern suitable for complete beginners?
Yes, this is an ideal first project. It focuses on the slip stitch and the back loop only technique, both of which are fundamental skills for more complex garment construction.
May I sell items made from this pattern?
You are welcome to sell finished items created from this pattern, provided you credit the original design. Please do not distribute or sell the pattern document itself.
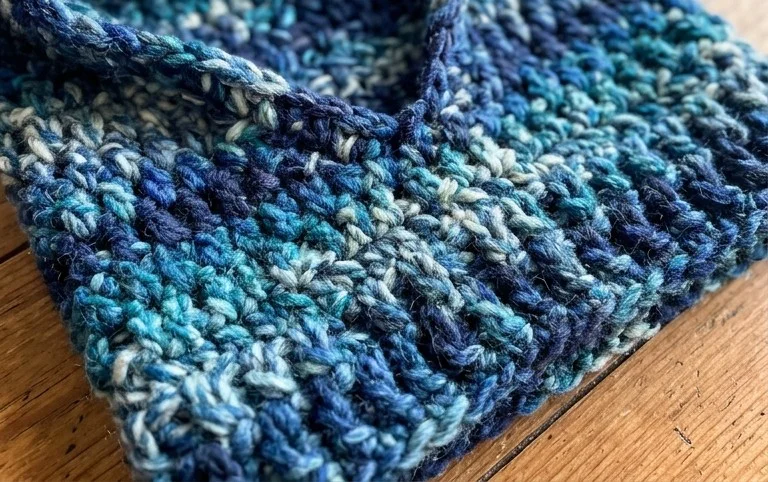
Your finished hood offers a snug fit that keeps the wind at bay and adds a handmade touch to any outfit. You might consider using a variegated yarn for a colorful update or working extra rows to create a deeper, slouchier cowl effect around the neck. Sharing a photo of your work on social media helps others find inspiration for their own yarn stash. I invite you to browse through my archive of other free patterns whenever you are ready to start your next creative project.